How to Clone Vegetables from Kitchen Scraps — No Seeds Needed
Ever looked at your vegetable scraps and thought, “What a waste…”? Well, what if I told you that pile of stems and leaves could be your next thriving garden? That’s right — learning how to clone vegetables from your kitchen scraps — no seeds needed is easier than you think. All it takes is a bit of patience, a pair of garden shears, and a dash of plant love. Let’s turn leftovers into leafy legends.
1. Why Clone Vegetables Instead of Starting from Seeds?
Cloning vegetables is like photocopying your favorite plant — but instead of a piece of paper, you get a whole new, living, growing veggie. Here’s why it’s awesome:
- Faster Growth: Clones skip the germination phase, giving you a head start.
- Identical Quality: If you loved that juicy tomato, the clone will produce the same flavor.
- Cost Savings: No seed packets, no fancy nursery trips. Just scraps.
- Eco-Friendly: Reduces kitchen waste and supports sustainable gardening.
And honestly? It’s just plain cool to say, “I grew this pepper from last night’s dinner.”
2. Tools You’ll Need to Get Started
Before you dive in, gather these essentials:
- Sharp Garden Shears – Check on Amazon
- Clean Scissors – For delicate leafy stems
- Glass of Water – To root your cuttings
- Small Pots with Soil – For transplanting
- Label Tags – Trust me, you’ll forget what’s what
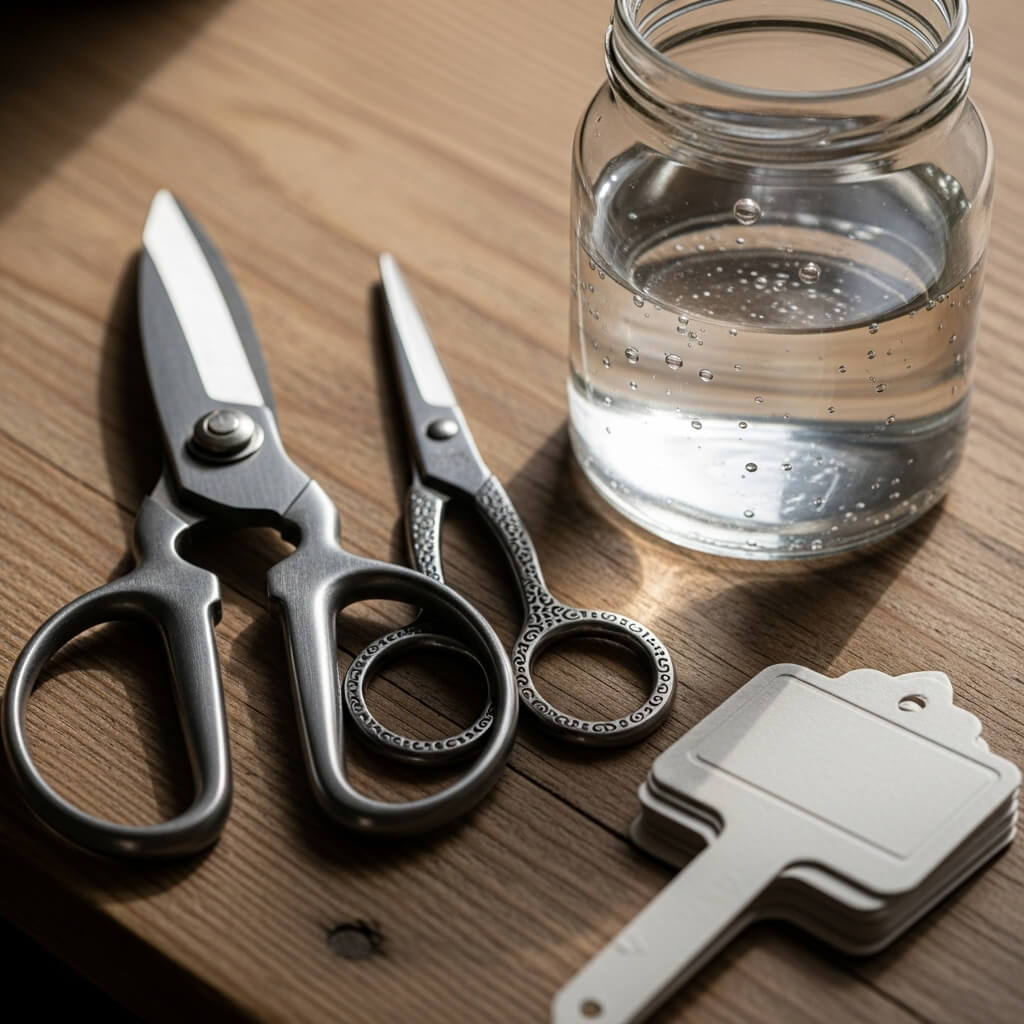
Pro Tip: Always sterilize your tools before cutting. Plants don’t appreciate sharing bacteria — it’s their version of an awkward handshake.
3. Best Vegetables to Clone from Kitchen Scraps
Some veggies are cloning superstars, while others… not so much. These are the champions:
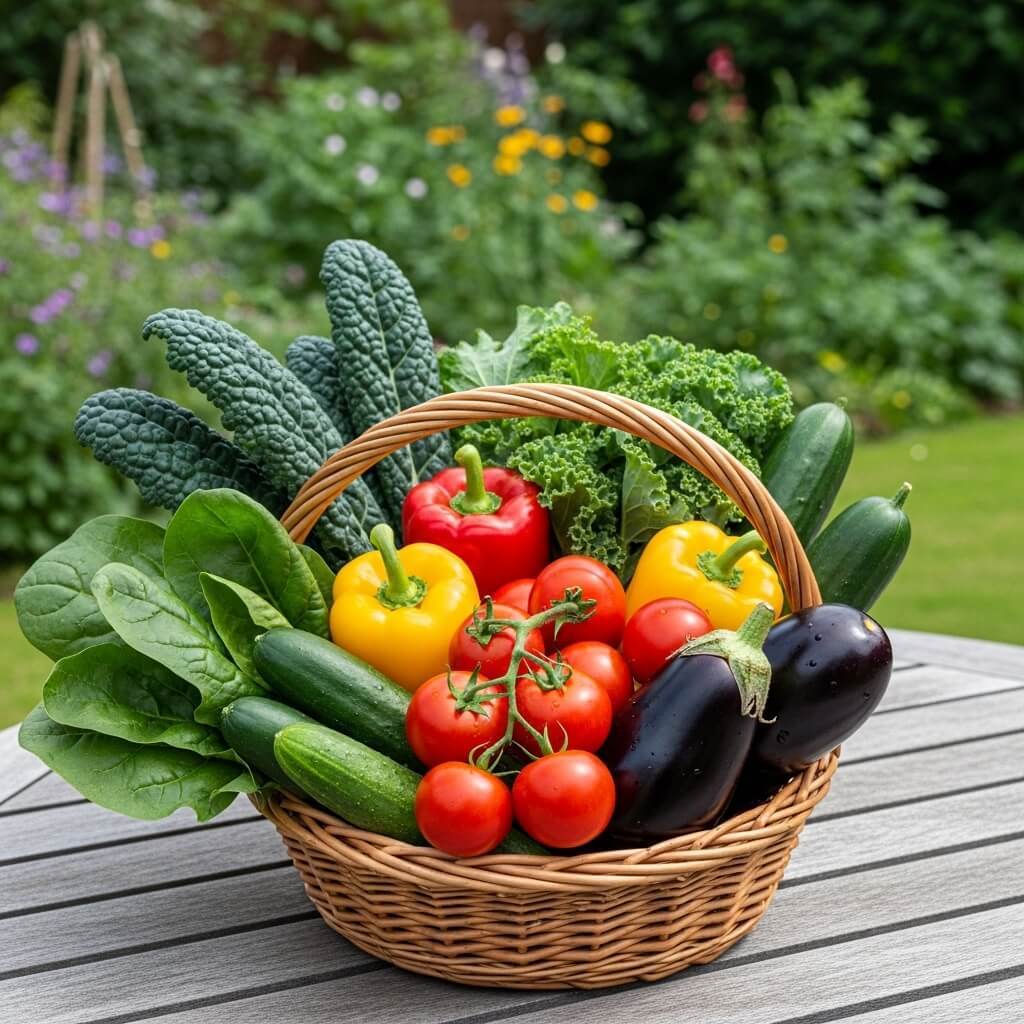
- Leafy Greens: Lettuce, bok choy, kale
- Peppers: Bell, chili, jalapeño
- Tomatoes: Cherry, Roma, heirloom
- Eggplant: Smooth-skinned varieties root well
- Cucumbers: Especially vine-type for faster regrowth
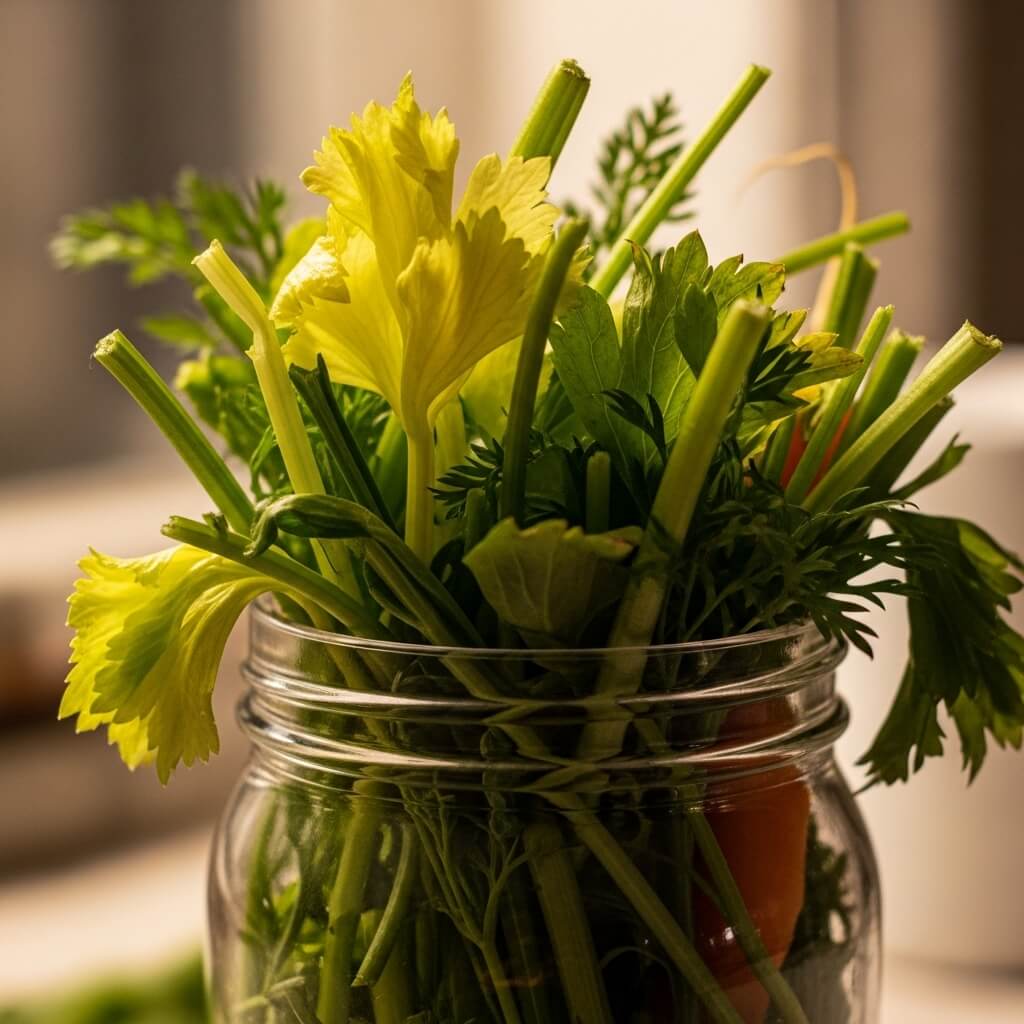
- Celery & Leeks: Regrow beautifully from the base
For more inspiration on compact gardening options, check out Balcony Vegetable Garden — 15 Edible Plants.
4. Step-by-Step: How to Clone Vegetables from Cuttings
Cloning isn’t complicated — think of it as plant babysitting with a fun science twist.
Step 1: Pick the Healthiest Parent Plant
Choose a plant that’s disease-free, with strong, green stems. Weak parents make weak clones.
Step 2: Make the Cut
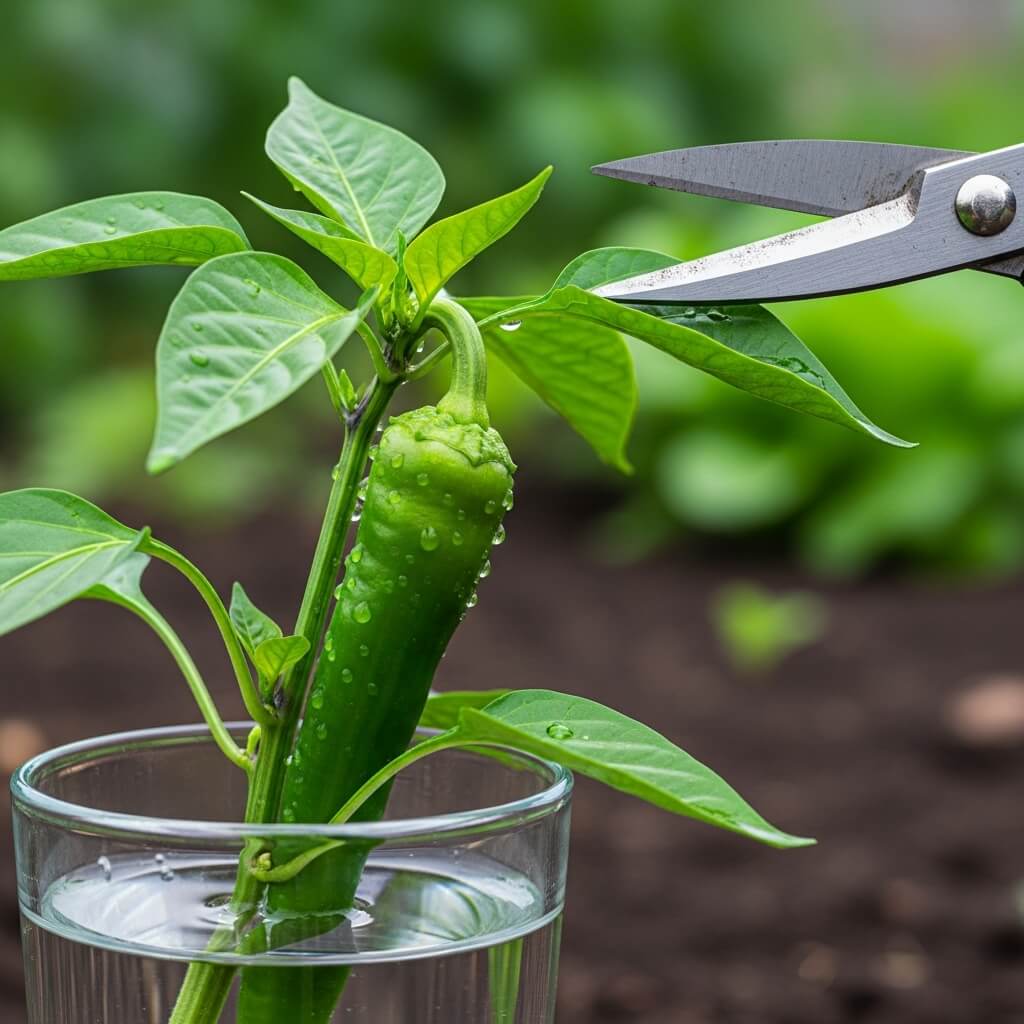
Using your garden shears, snip a 4–6 inch section from a healthy stem. Remove any flowers or buds — they drain energy from root growth.
Step 3: Prep for Rooting
Strip the lower leaves so only a few remain at the top. Dip the cut end into rooting hormone (optional but recommended).
Step 4: Place in Water or Soil
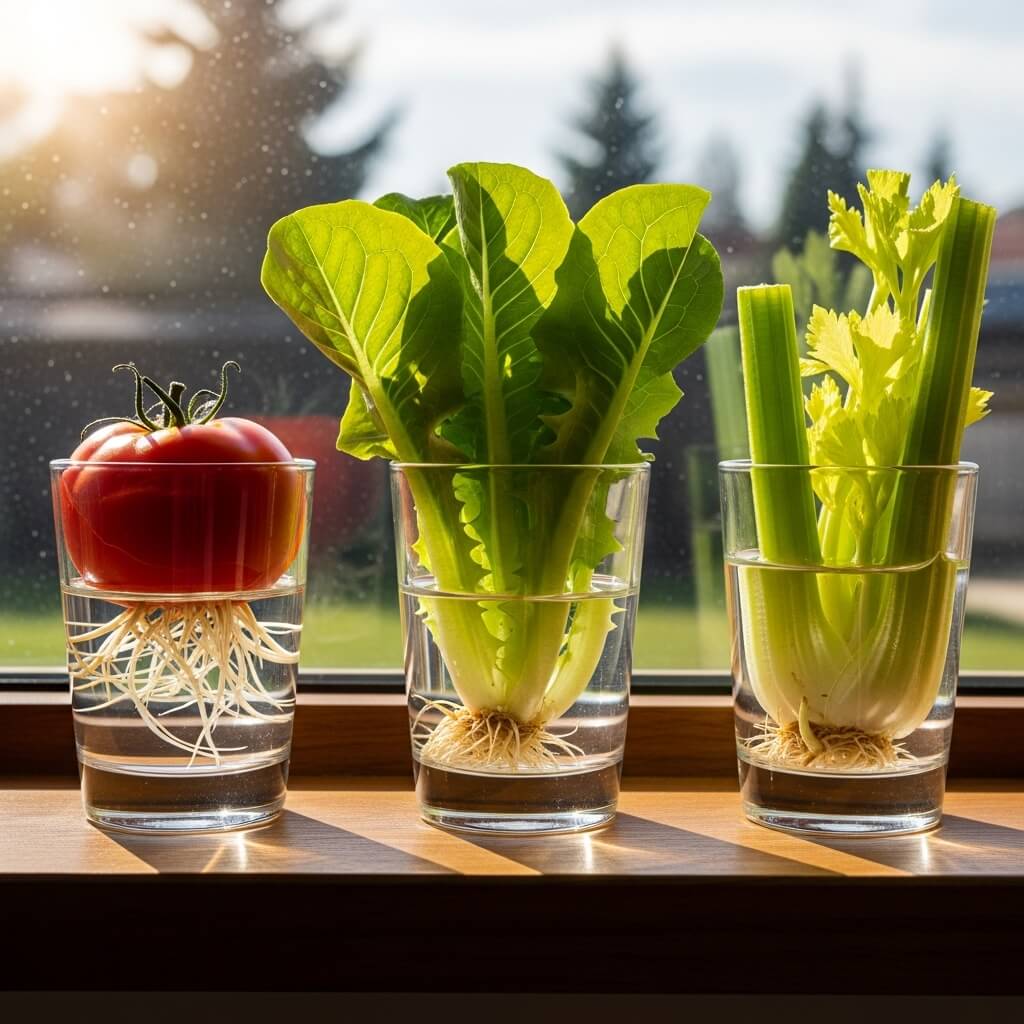
- Water Method: Place in a glass of water in bright, indirect light.
- Soil Method: Plant directly in moist, well-draining soil.
Change water every 2–3 days if rooting in water.
Step 5: Transplant and Care
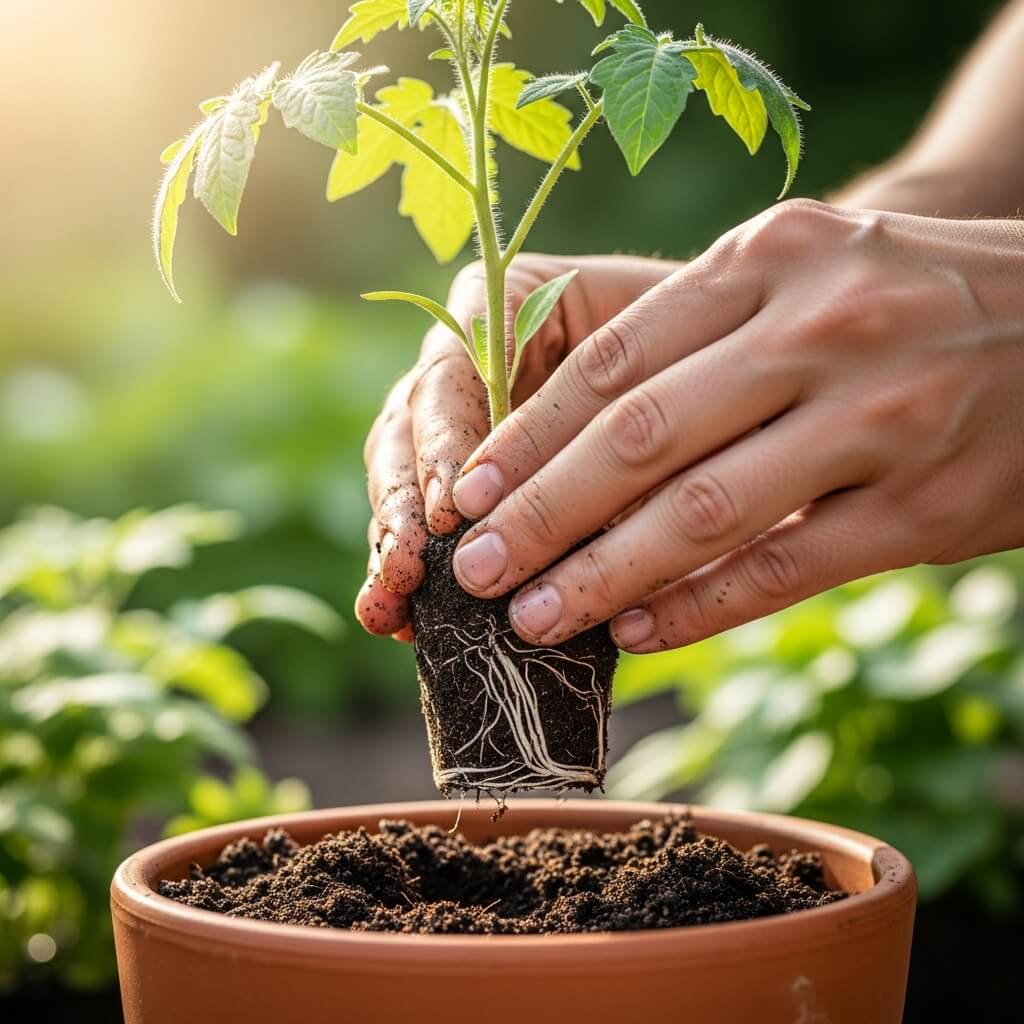
Once roots are 2–3 inches long, move the cutting into soil. Keep moist but not soggy.
5. Cloning Specific Vegetables Like a Pro
Leafy Greens
Cut the base of your lettuce or bok choy, place in a shallow dish with water, and watch fresh leaves sprout in days.
Peppers
Snip a green, healthy stem before flowering. Peppers love warm, sunny spots, so a sunny windowsill is perfect.
Tomatoes
Take a sucker (small shoot growing between the stem and a branch) and root it in water. Tomatoes are almost too easy to clone.
Eggplant & Cucumbers
Cut above a leaf node, and keep the stem hydrated until roots appear.
For more colorful edible ideas, explore Best Edible Flowers to Grow in Your Garden.
6. Common Mistakes to Avoid When Cloning Vegetables
- Using Dull Tools – Causes damage and slows rooting.
- Too Much Sun Early On – Clones need gentle light until roots establish.
- Skipping Sterilization – Increases the risk of rot or disease.
- Overcrowding – Give each cutting space to breathe.
Think of it like moving into a new apartment — no one wants a roommate on day one.
7. Caring for Your New Clones
Once your clones are in soil, the real fun begins.
- Water Wisely: Keep soil moist but never waterlogged.
- Feed Gently: Use diluted fertilizer after 2–3 weeks.
- Prune Sparingly: Focus on root development first.
- Support Growth: Use stakes for taller plants like tomatoes and peppers.
For extra gardening know-how, bookmark Ultimate A-Z Gardening Glossary for Beginners.
8. When to Harvest Your Cloned Vegetables
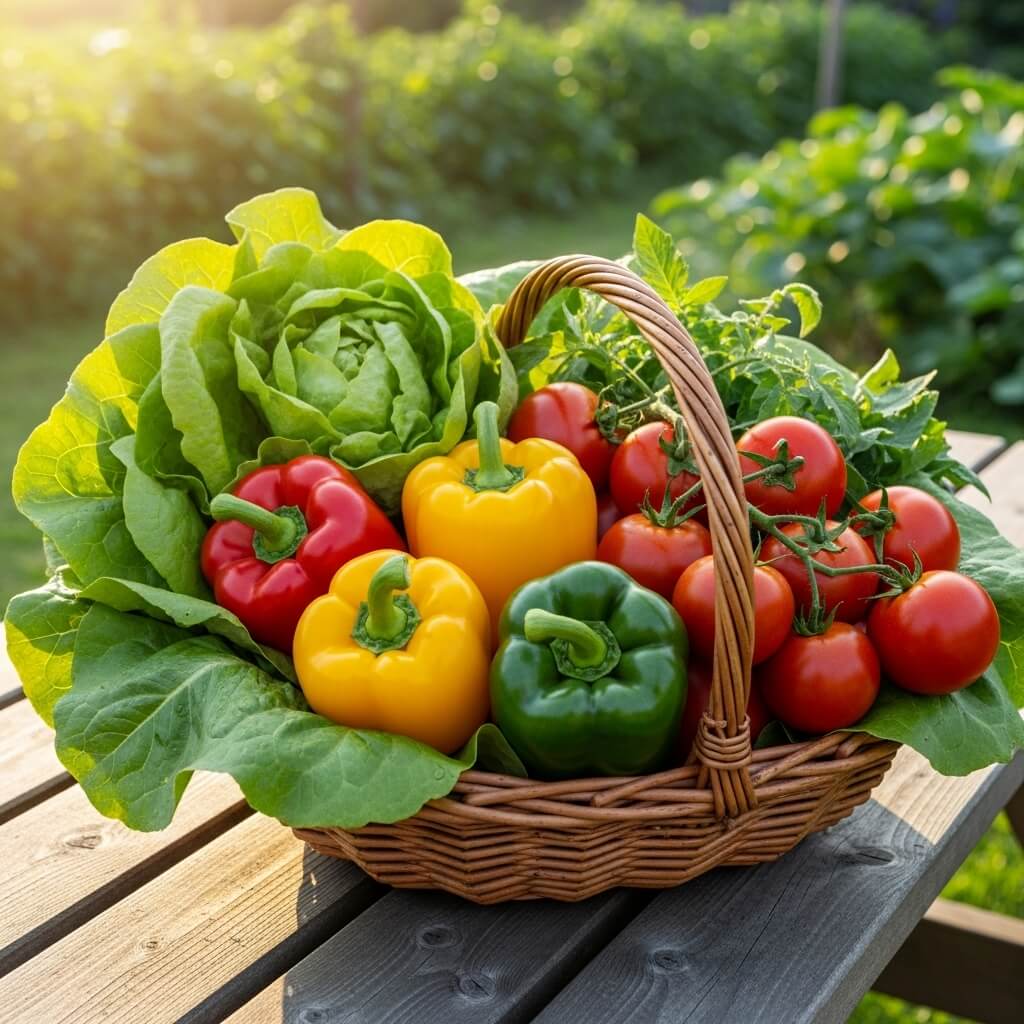
Your clones will mature at the same pace as the original plant. Most leafy greens are ready in 3–4 weeks, while tomatoes, peppers, and eggplant may take a few months. The best part? You can start a second generation from your first batch, keeping the veggie cycle going.
9. Extra Benefits of Cloning from Kitchen Scraps
- Budget-Friendly: Grocery bill goes down.
- Low Waste: Every scrap has potential.
- Satisfying Hobby: Watching roots form is strangely addictive.
- Perfect for Small Spaces: Ideal for balconies and patios.
Want more ideas for maximizing small garden spaces? See Garden Flowers That Thrive in Containers.
10. Final Thoughts
Cloning vegetables from your kitchen scraps is more than a gardening trick — it’s a small act of eco-magic. With a few tools, a bit of patience, and maybe a splash of rooting hormone, you can grow a never-ending supply of fresh, flavorful veggies right at home.
So, the next time you’re chopping up a pepper or slicing a tomato, pause before tossing those bits in the bin. Your future garden might just be hiding in your compost pile.
And who knows? A year from now, you could be proudly serving homegrown salsa and casually saying, “Yeah, I cloned these.” 🌱
External Resource: Learn more about plant propagation from University of Minnesota Extension.


