Cold Stratification Explained: A Beginner’s Guide to Better Seed Germination
Ever planted seeds with high hopes, only to end up with… a pot of soil and disappointment? Yeah, we’ve all been there. But don’t worry — there’s a nifty trick nature uses to wake up those stubborn seeds. Welcome to Cold Stratification Explained: A Beginner’s Guide to Better Seed Germination. It’s time to cold stratify seeds the right way, and finally enjoy a blooming success story!
What Is Cold Stratification (and Why Your Seeds May Be Napping)?
If seeds could talk, they’d probably say, “We’re not lazy, we’re just waiting for winter to end!”
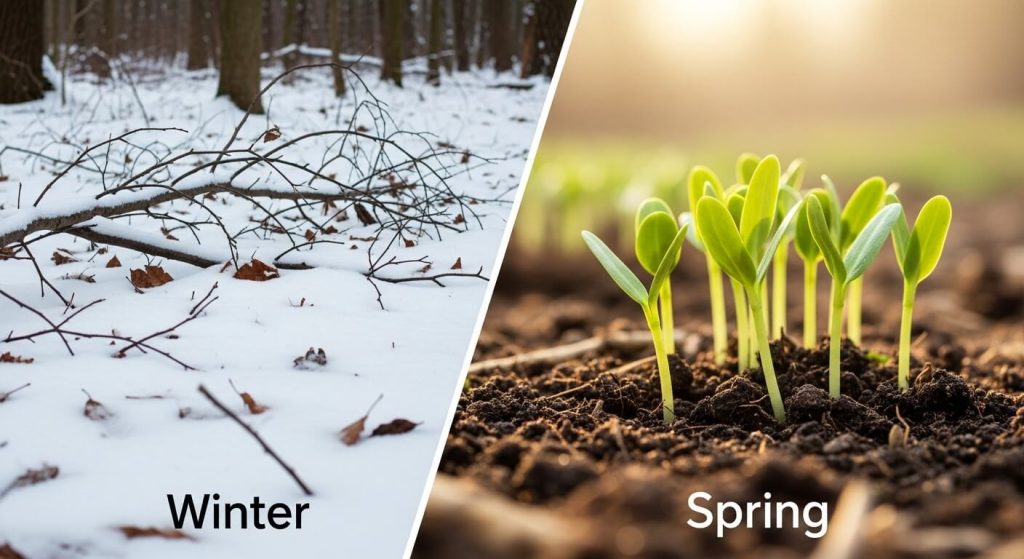
Cold stratification is the natural process that breaks seed dormancy. Many perennial and native wildflower seeds need a period of cold and moist conditions to trigger germination. Basically, these seeds have evolved to wait out winter and only sprout when spring hits.
So How Does It Work?
Cold stratification mimics winter conditions like:
- Cool temperatures (33-41°F)
- Moist environments (not soggy!)
- Specific duration (2 to 12 weeks depending on the seed)
Without this “fake winter,” some seeds just won’t budge.
Seeds That Need It Most
Not all seeds need stratifying. But if you’re growing:
- Perennial wildflowers
- Native woodland plants
- Certain herbs like lavender or echinacea
…chances are you’ll need to do a little cold stratification magic. For a list of edible flowers that benefit from stratification, check this out.
How to Cold Stratify Seeds (Step-by-Step DIY Method)
Now that you know what it is, let’s dive into how to cold stratify seeds at home. No snowstorm required.
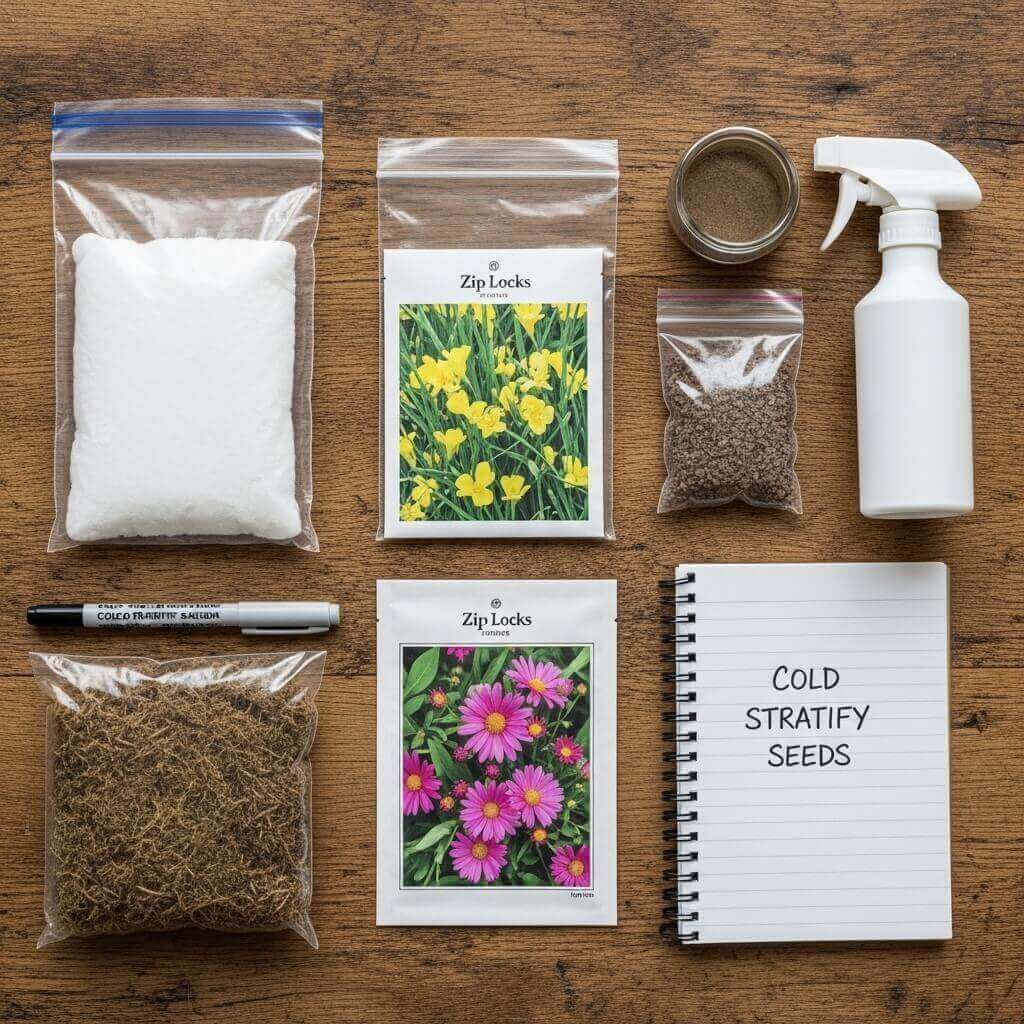
Supplies You’ll Need
- Seeds that require stratification (check your seed packet)
- Paper towels, peat moss, or sand
- Zip-lock bags or small containers
- Labels (because mystery sprouts are only fun once)
- Refrigerator space (yes, right next to the mustard!)
Step-by-Step Guide
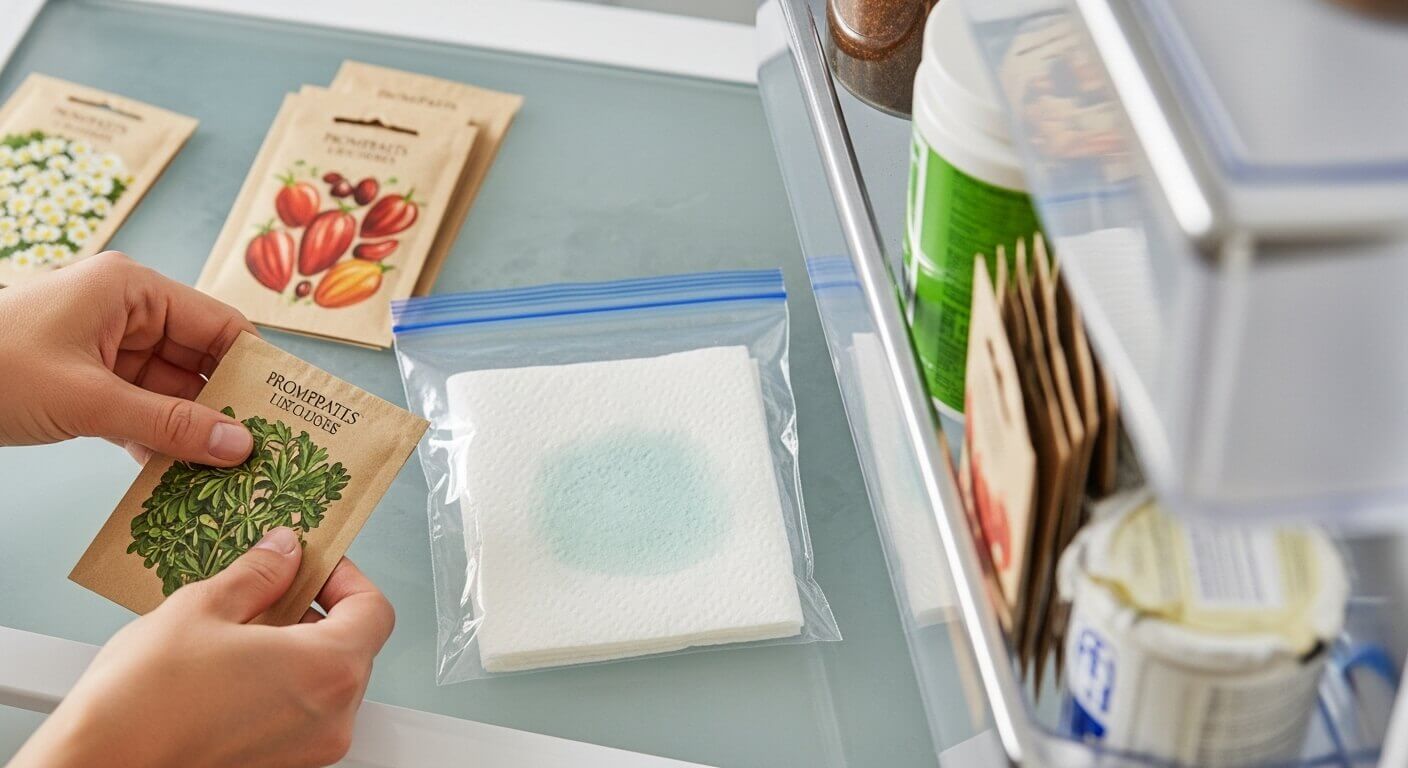
- Moisten your medium: Dampen the paper towel or sand. It should feel like a wrung-out sponge.
- Mix seeds in: Sprinkle seeds into the moist material.
- Bag it up: Place in a labeled zip-lock bag.
- Refrigerate: Store in the fridge (not freezer!) for 2-12 weeks.
- Check Weekly: Make sure the medium stays moist but not soggy. Mold? Toss it.
- Plant: After the stratification period, plant the seeds like usual and give them lots of love.
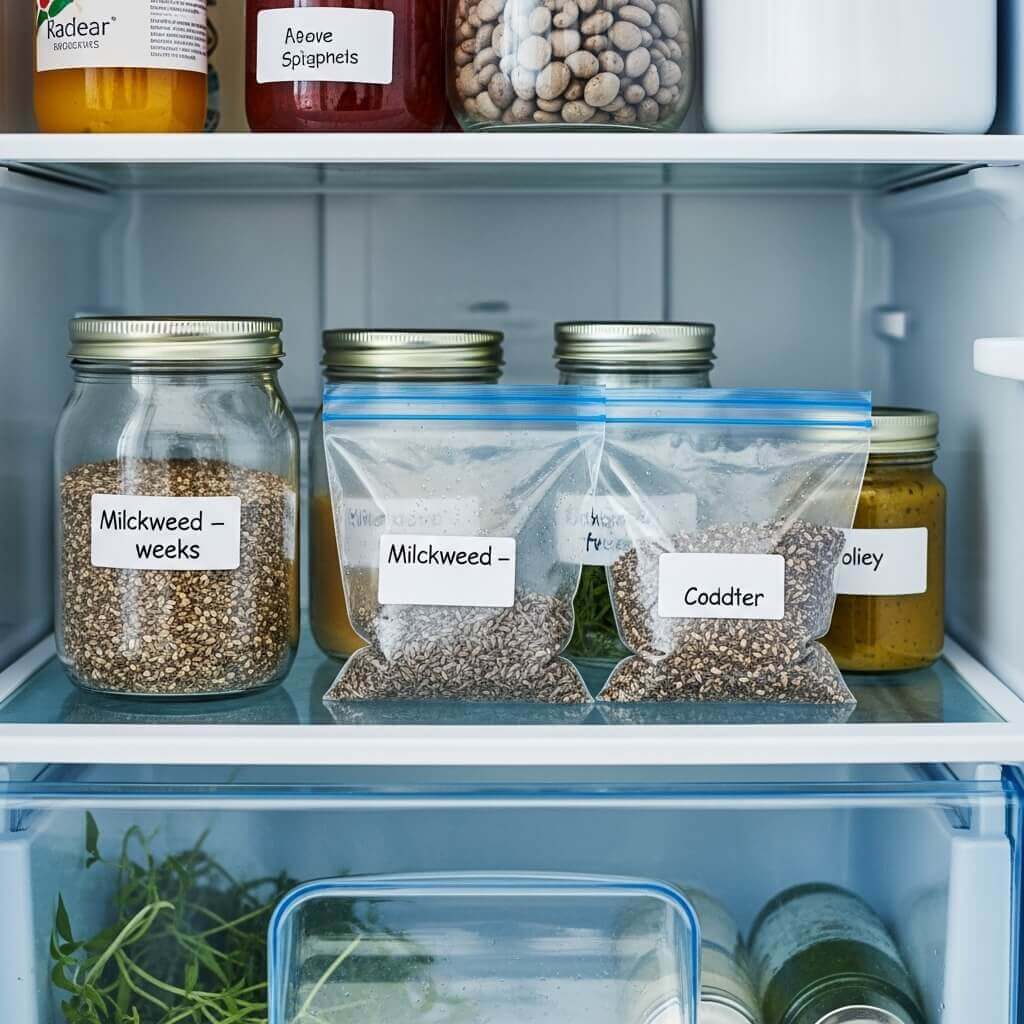
This technique is also known as wildflower seed stratification, especially for native species. For best results, stratify seeds for spring planting a few months before your last frost date.
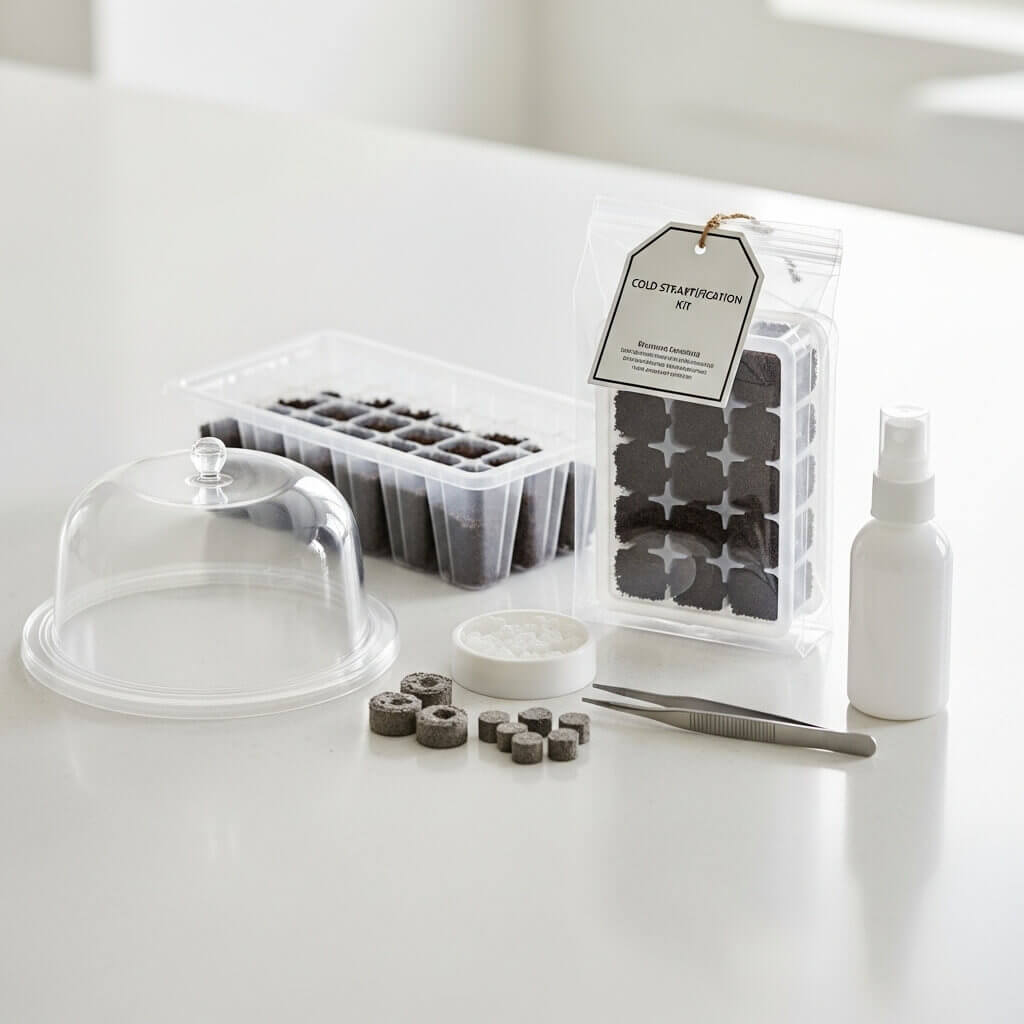
Want to avoid the DIY mess? Here’s a pre-made seed stratification kit on Amazon that includes everything you need.
Cold Stratification vs. Other Techniques: What Sets It Apart?
You might be wondering, “Can’t I just soak the seeds or scarify them?”
Here’s how cold stratification compares:
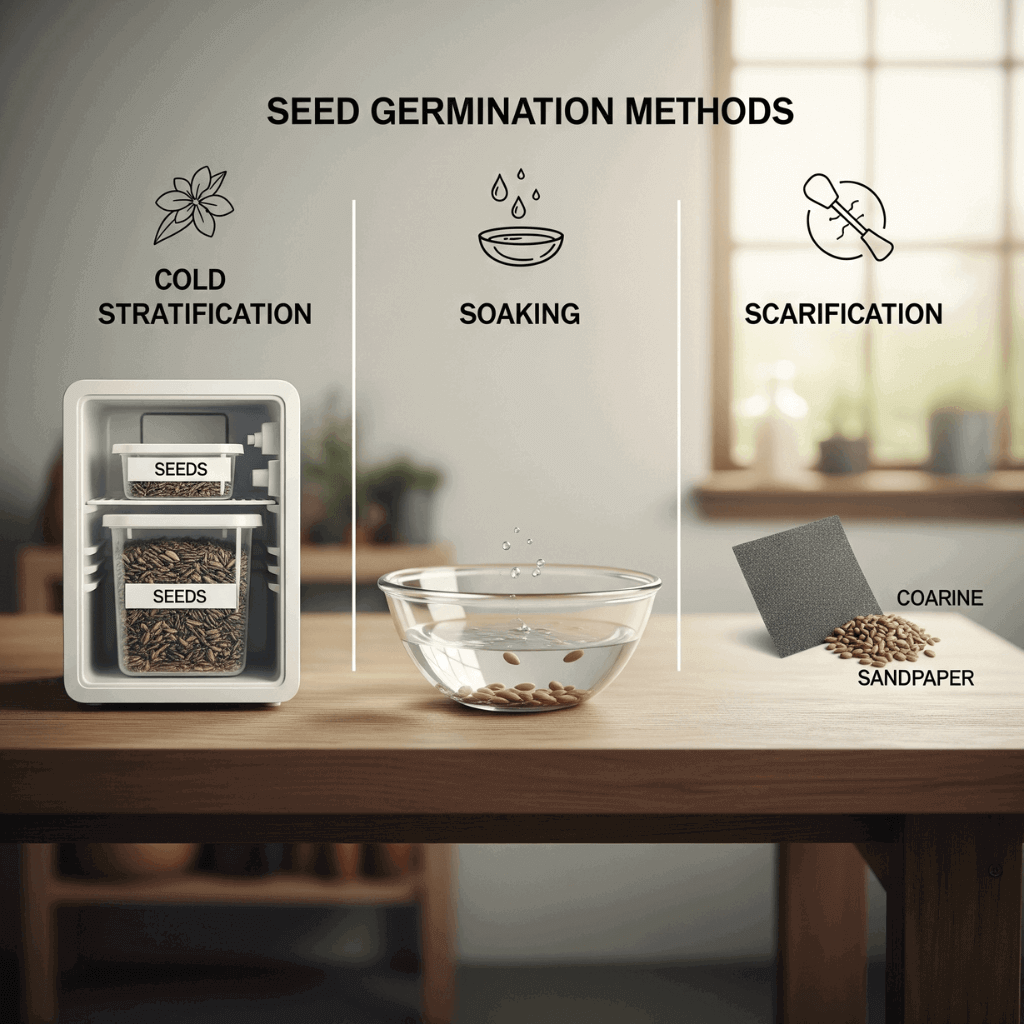
| Technique | Best For | Time Required | Tools Needed |
|---|---|---|---|
| Cold Stratify | Perennials, wildflowers | 2–12 weeks | Fridge, moist medium |
| Soaking | Beans, peas, some annuals | 12–24 hours | Water bowl |
| Scarification | Seeds with hard coats (e.g., lupine) | 5–10 mins | Sandpaper, knife |
Each technique has its place, but cold stratification is essential for plants that rely on seasonal cycles.
Tips to Get the Best Results
Even experienced gardeners can run into trouble. Here are some pro-tips to ensure success:
Do:
- Label bags with seed type and start date
- Use clean tools and containers
- Keep the medium evenly moist
Don’t:
- Over-soak or flood the seeds
- Freeze them unless the variety requires it
- Forget about them entirely (yep, we’ve all done it)
Still a little unsure? Brush up on your gardening lingo with our A-Z glossary for beginners.
Best Seeds to Cold Stratify for Gorgeous Results
Not all seeds need a chilly nap. But for those that do, here are some stunners worth trying:
- Milkweed: Vital for monarch butterflies
- Lupine: Adds color and nitrogen to soil
- Black-eyed Susan: Hardy and low-maintenance
- Columbine: Elegant and shade-tolerant
- Purple Coneflower (Echinacea): Great for pollinators and your immune system
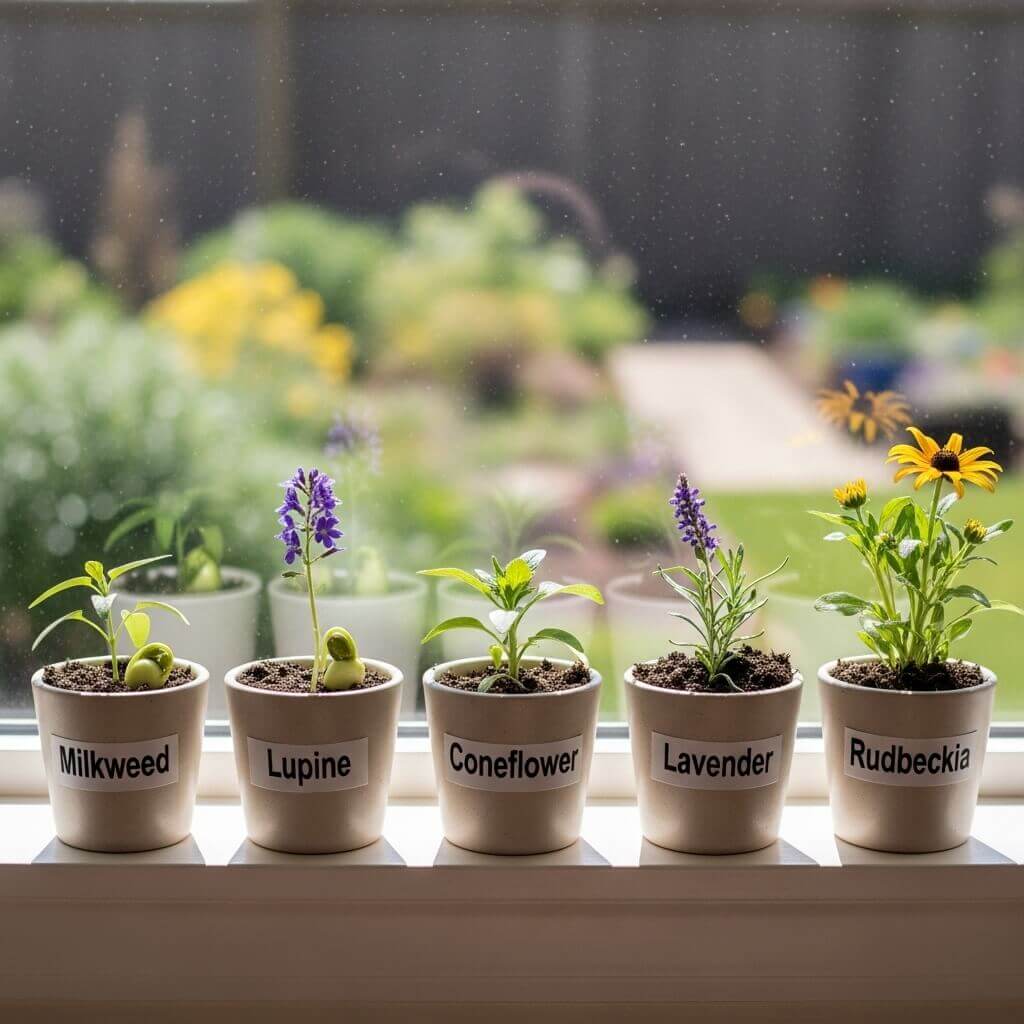
Pro tip: These all pair beautifully with garden flowers that attract pollinators.
Real Talk: Is Cold Stratification Really Necessary?
Short answer: Yes, if you want germination. Many wildflowers and perennials just won’t grow unless they go through a simulated winter.
But here’s the good news: once you get the hang of it, it becomes second nature. You might even feel like a plant whisperer by spring.
Plus, your future self will thank you when your balcony or backyard is bursting with color. (Speaking of which, check out this balcony garden guide for more plant info.)
Want to go deeper into the science? The University of Illinois Extension offers a detailed guide on seed stratification.
Final Thoughts: Chill Now, Bloom Later
So there you have it — cold stratification explained in plain words.
If you’ve got seeds that need a long winter’s nap, now you know how to help them snooze and sprout. It’s a little effort with a big payoff. Think of it as gardening’s version of meal prepping… but for flowers.
So grab those seeds, a damp paper towel, and make a little room in the fridge. Your spring self will be throwing high-fives at your fall self.
Happy chilling and even happier blooming!
